Molar
Flowform
|
|
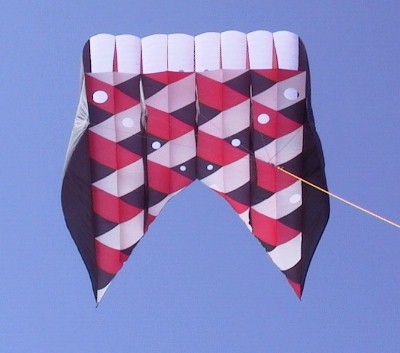
Molar Flowform original plan was developed
by Harald
Prinzler's and
named FF04A.
It's a very smart kite suitable to built
on big size.
This plan is referred to a 1mt width kite
but it's preferred at least twice.
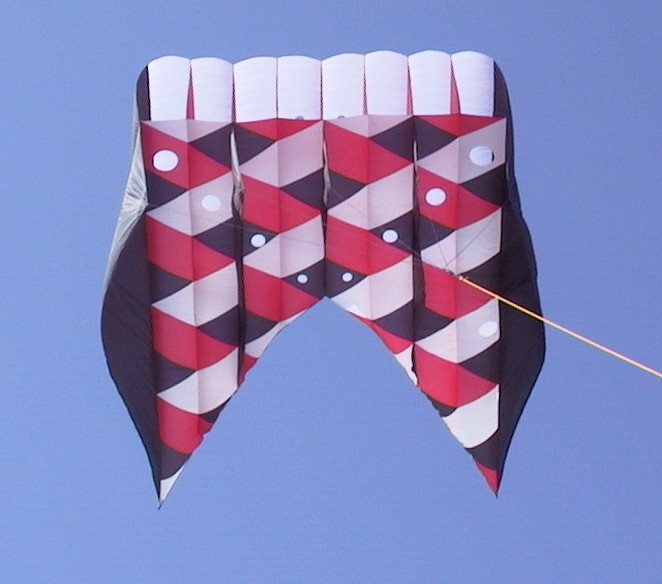
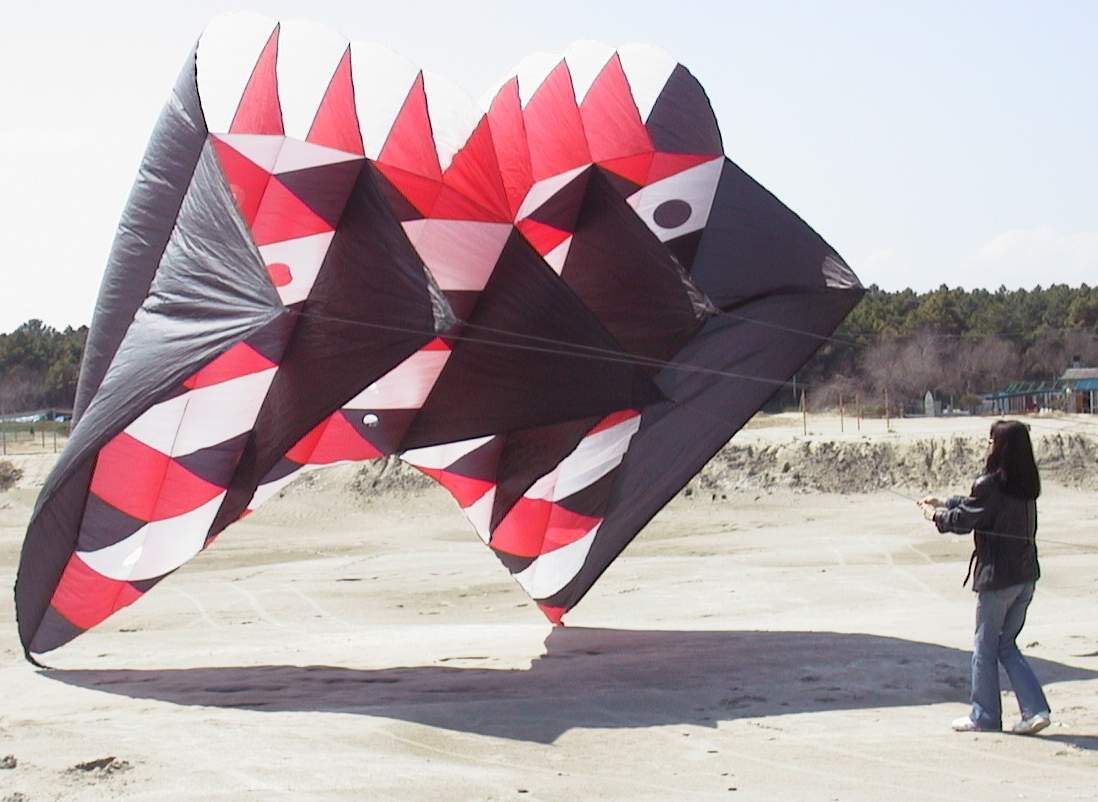
Left side picture show my 4x5 mt Molar
Flowform, it take about 75 mq of spinnaker nylon...
|
Plan
of a similar like-molar flowform is available on Carl
Crowell, web
page.
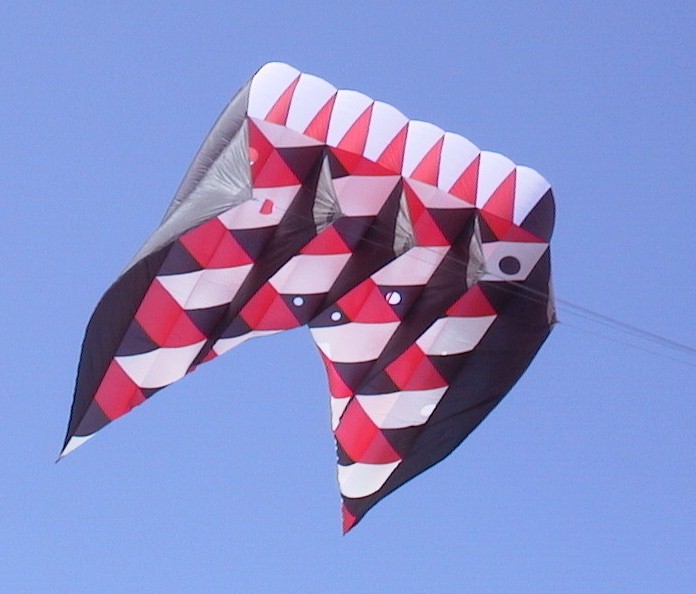
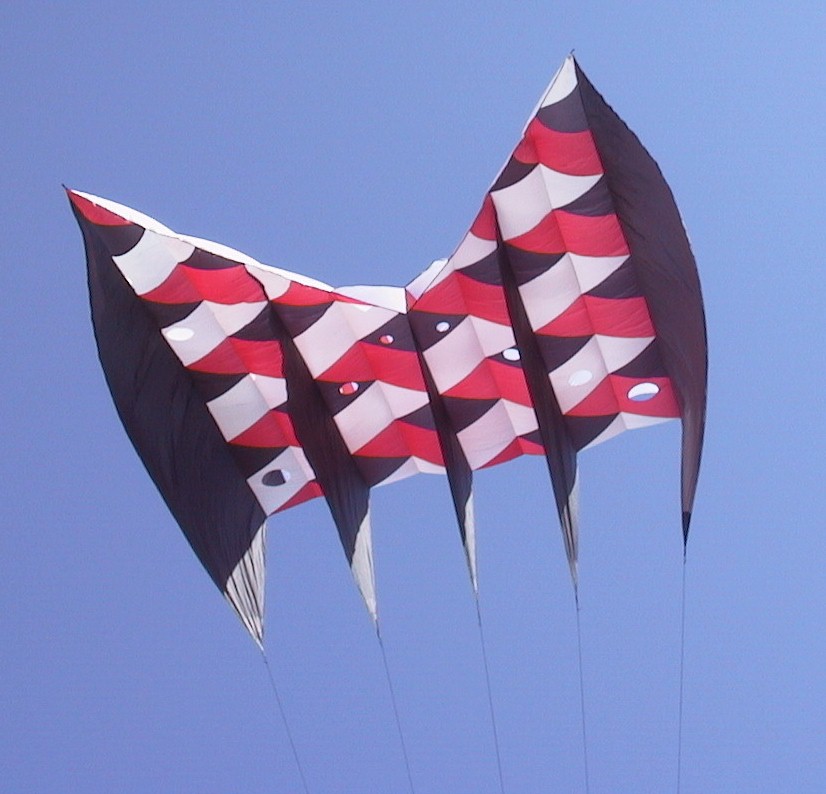
Other
Molar Flowform pictures...
-
Molar
Flowform Construction Plan
There
are some little differences between this plan and Prinzler's, keels
are 300 mm high instead of 270 mm of FF04A and leadind edge is a
little different.
-
|
|
Assembling scheme
Here are all assembled spinnaker fabric
pieces:
-
Lower panels B1, B2, B3, B4 (two pieces each type)
-
Upper panels T1, T2, T3, T4 (two pieces each type)
-
Keels K3, ( 1 piece), K2 and K1 (two pieces each type)
-
Ribs P1, P2, P3, P4 (two pieces each type) and P5 (one piece)
|
|
|
Bottom side
All
measures are referred to 1mt width kite.
Cut
out all lower panels according to left picture scheme, remember to add
6-7 mm extra all aroud each piece, cut and hem all holes.
|
|
|
Top side
Cut
out all top panels according to left picture scheme, remember to add
6-7 mm extra all aroud each piece, cut and hem all holes.
It's better to cut out these panels a
little longest than measures shown in picture, surplus fabric will be
trim after sewing.
|
|
|
Ribs
Cut out all ribs accordingto left side
picture, add 6-7 mm extra all aroud each piece, cut and hem all holes.
It's better to prepare a cardboard shape
to cut out spinnaker pieces, at first with P1 shape, then remove
surplus cardboard to obtain P2 shape, then P3 ,P4 and P5.
|
|
|
Use circular carboards placed as shown in
left side picture to cut out vent holes.
All holes will be hem with double seam all
around to reinforce nylon spinnaker.
|
|
|
Keels
Keel
dimensions are shown on left side scheme.
Like
all other fabric pieces, remember to add 6-7 mm all around to hem and
joint together all pieces.
|
Pieces
setting
After
cutting out all pieces it's possible to prepare panels, keels and
ribs for assembling:
 Hem
ribs front edge
folding 6-7 mm surplus edge, eventually adding a spinnaker tape and
sew.
Hem
ribs front edge
folding 6-7 mm surplus edge, eventually adding a spinnaker tape and
sew.
Hem
front and
hypotenuse keels edges folding 6-7 mm surplus edge , then adding a
spinnaker tape and sew.
Hem
top and bottom
panels front edge folding 6-7 mm surplus edge, eventually adding a
spinnaker tape and sew.
Add
dacron
reinforces on bridle lines atachment point of keels.
Sew
bridle line
loops on keels.
Pieces
assembling
Now
it's possible starting sew together all pieces.
Sew
together two bottom panels B1, central keel K3 and central rib P5,
starting from leading edge side to trailing edge....
|
|
Keep hold with pins four fabric pieces
aligned at sewing edge and sew first seam...
|
|
|
Then fell seam on rib P5...
|
|
|
...getting the first part of kite.
|
|
|
Second seam joint previous piece with rib
P4 and lower panel B2.
|
|

|
This seam have to fell on rib P4 also.
|
|
|
Repeat this operation on other side
respect to keel K1.
|
|
|
Third seam joint keel K2, bottom panel B3,
rib P3 and bottom panel B2.
|
|
|
Fell this seam on rib P3....
|
|
|
...and repeat this operation at other sid.
|
|
|
Fourth seam joint last bottom panel B4 and
ib P2.
Fifth seam joint external keel K1 and
esternal rib P1.
Repeat this operation on each side....
|
|
|
... and all kite bottom side is finished.
|
|
|
Now it's possible to saw top panels too,
strarting from central panel T1 then adding T2, T3 and T4.
|
Last
longitudinal seam joint the upper panel T4 and external rib P1 and
close all external cells.
At last, close kite trailing edge sewing
all cells except for two central cells, then hem with spinnaker tape.
Now
your molar flowform is ready to fly.....

